You can now build an Alexa skill without needing to provision your own resources in AWS with an Alexa hosted skill.
As part of an Alexa hosted skill it will automatically provision a Lambda endpoint to run the code for you skill. It will even give you S3 media storage and a table for session persistance.
If your skill gets popular or you have some specific requirements, you may want to provision your own infrastructure, but the hosted skills are great, especially if you are trying out developing a new skill.
Create a self hosted skill
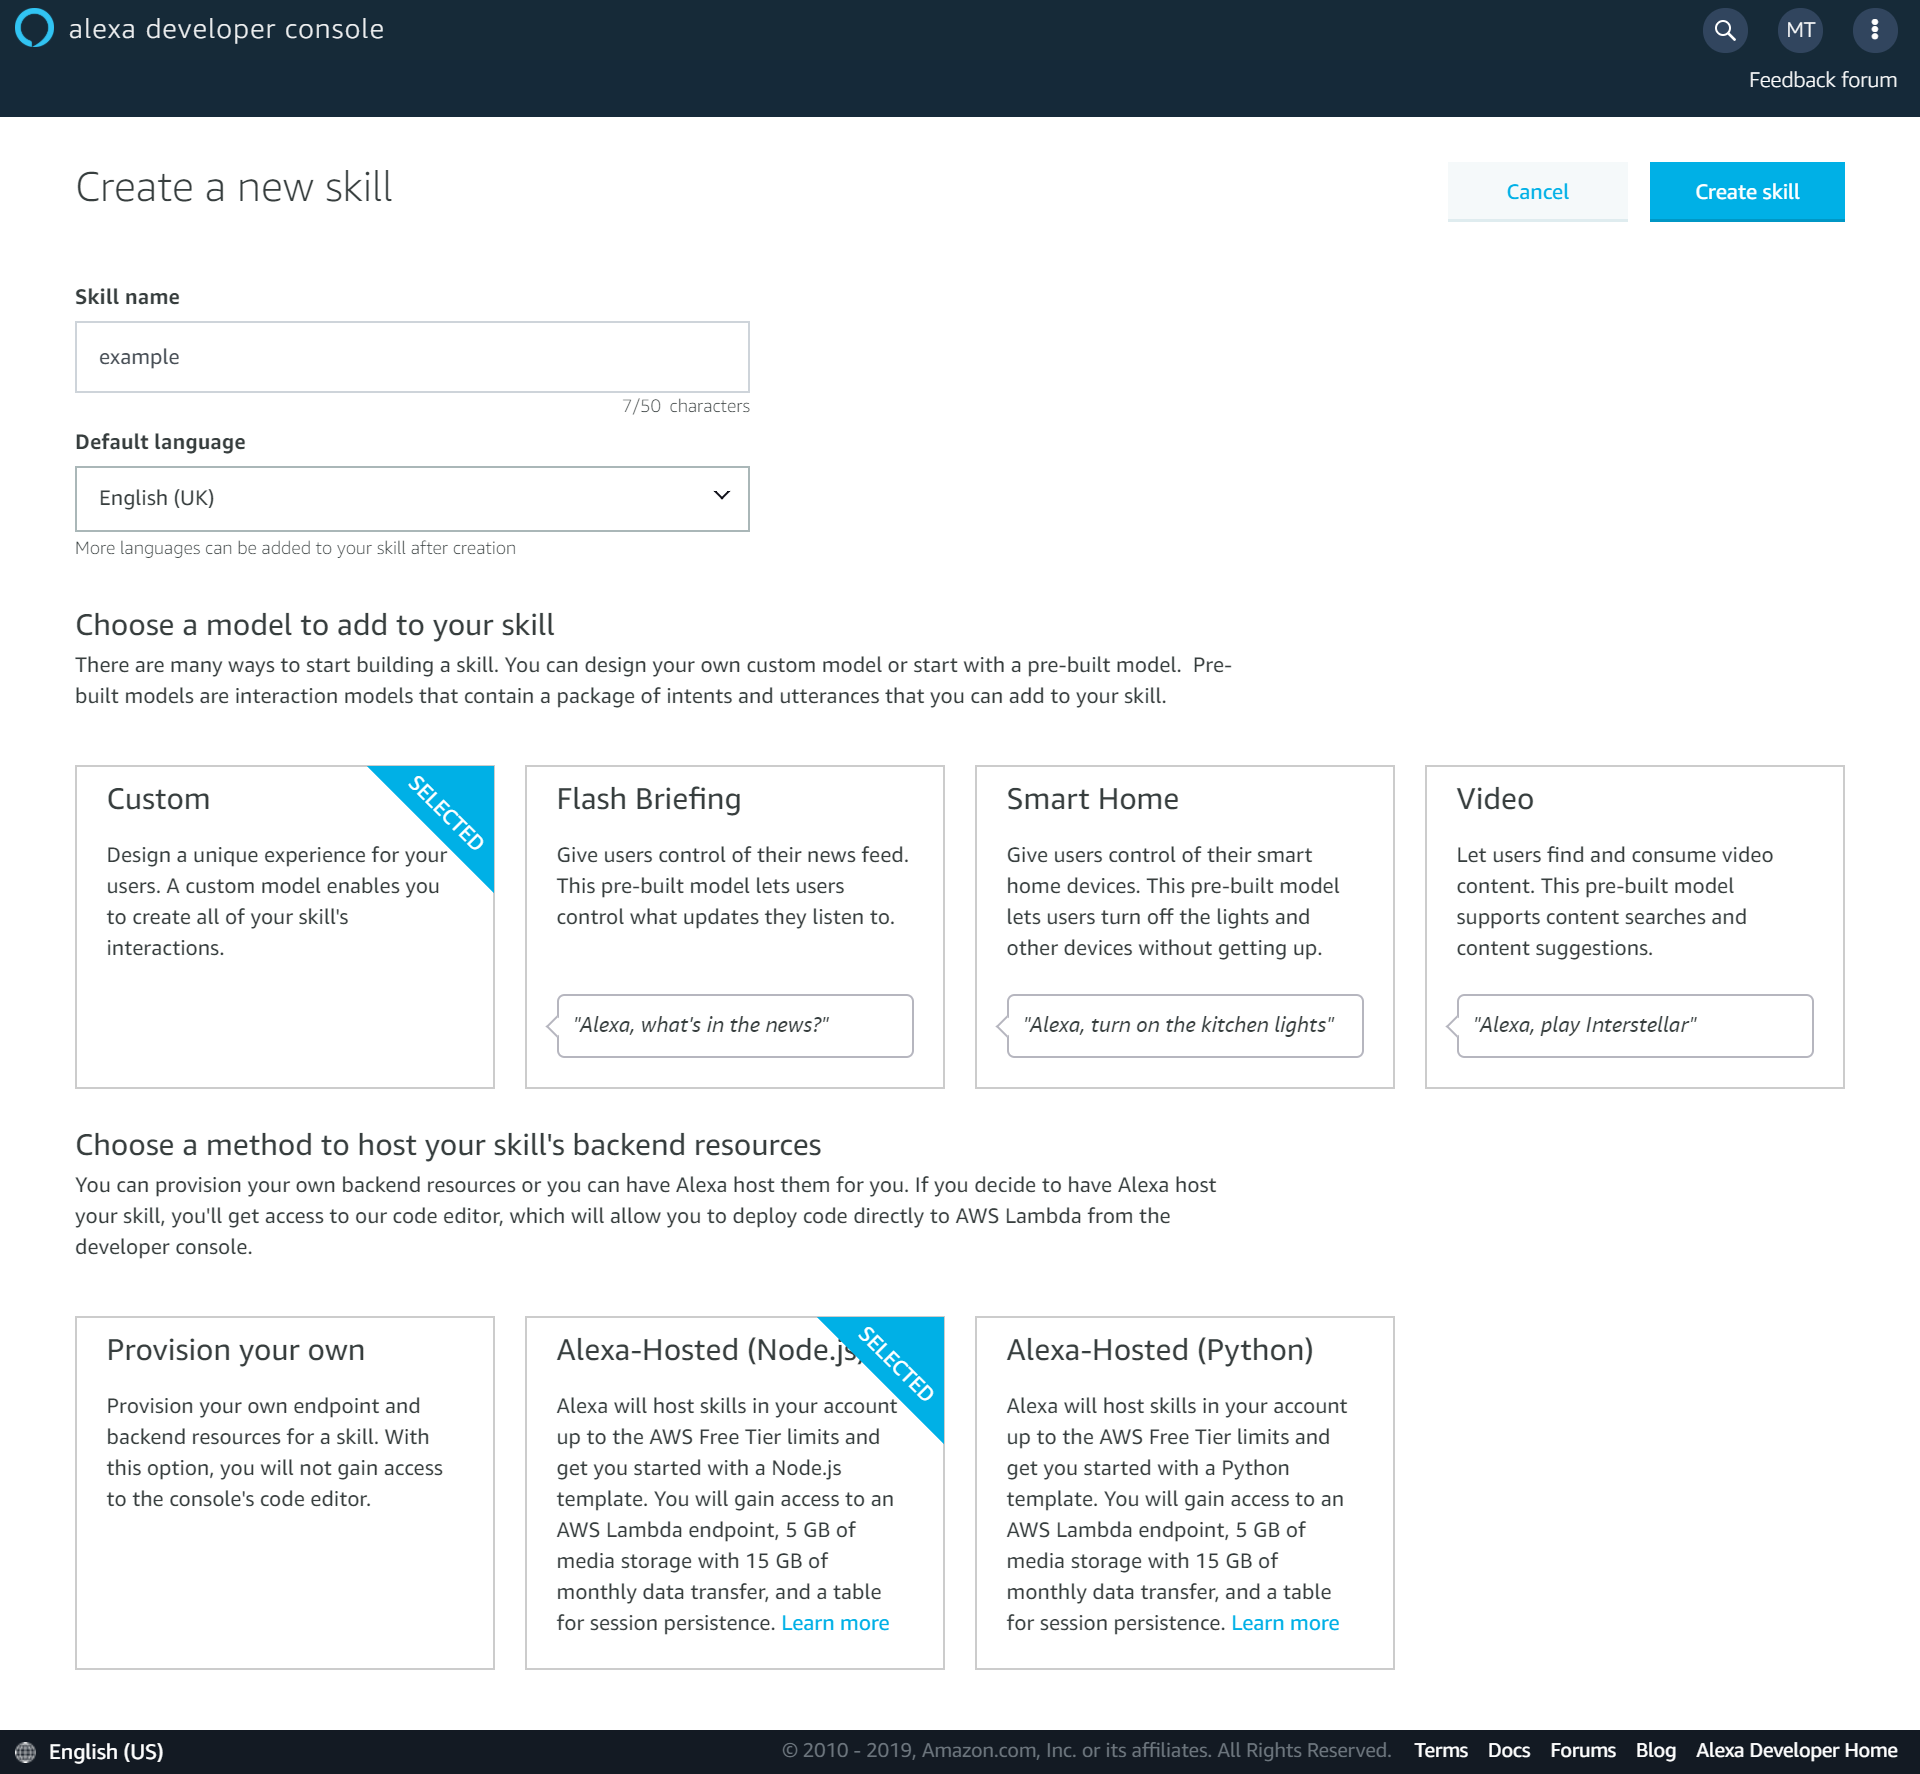
To start with your Alexa hosted skill, go to the Alexa console and click on “Create Skill”.
Once you’ve given your skill a name and selected the language, make sure you select “Custom” for the skill model and “Alexa-Hosted” for the method to host your skill’s backend resources.
Once you’ve made your skill, you’ll have access to the settings for your new skill.
Intents
The intents are like the actions that your skill can carry out. They are the link between a user telling your skill what they want, and your code for the skill.
On the “Build” tab in the console you can add a new intent. Your new skill will have come with several built in intents, such as a “HelpIntent”, and you can choose from multiple other built in intents. You can also create a custom intent for your own custom actions that your skill will perform.
Once you’ve created a new intent you can add the Sample Utterances that will be used to activate the Intent.
Intent handlers
After your Intents have Utterances against them for routing, you need to create the handlers for them. For basic handling of an intent you create a handler with the following functions.
canHandle(handlerInput){}
handle(handlerInput){}
By checking that the input is an IntentRequest and the Intent name is for the Intent you want to handle in canHandle you configure your handler for the intent.
In the handle function you set your logic for what you want to be returned to the user. Passing a string to the speak function will make Alexa speak the string out to the user.
const HelloWorldIntentHandler = {
    canHandle(handlerInput) {
        return Alexa.getRequestType(handlerInput.requestEnvelope) === 'IntentRequest'
            && Alexa.getIntentName(handlerInput.requestEnvelope) === 'HelloWorldIntent'; //replace with your Intent name
    },
    handle(handlerInput) {
        const speakOutput = 'Hello World!'; //add the logic for your intent response here
        return handlerInput.responseBuilder
            .speak(speakOutput)
            .getResponse();
    }
};
ASK CLI
I found the online code editor in the Alexa console to be pretty impressive. However, for more complex skills you are probably going to want to use an IDE that you are familiar with by using the ask cli.
The Alexa Skills Kit (ASK) CLI is used to manage your skills and their related resources. For this basic skill example, you can use it to clone the code for your skill for local editing then deploy it the Skill Console.
In order to install the ASK CLI, follow the instructions here.
Then by using the command
ask clone
you can pull down the code and the interaction model for you skill. Once you have cloned your skill, you can edit your skill locally. After editing, use the following command to push your changes up to the Alexa Skills Console,
ask deploy
For more information on the commands available on the CLI, check the docs here.
Test your skill
Testing your skill is super easy within the Alexa Skills Console. Head to the “Test” section of the console and enable testing for your skill in development.
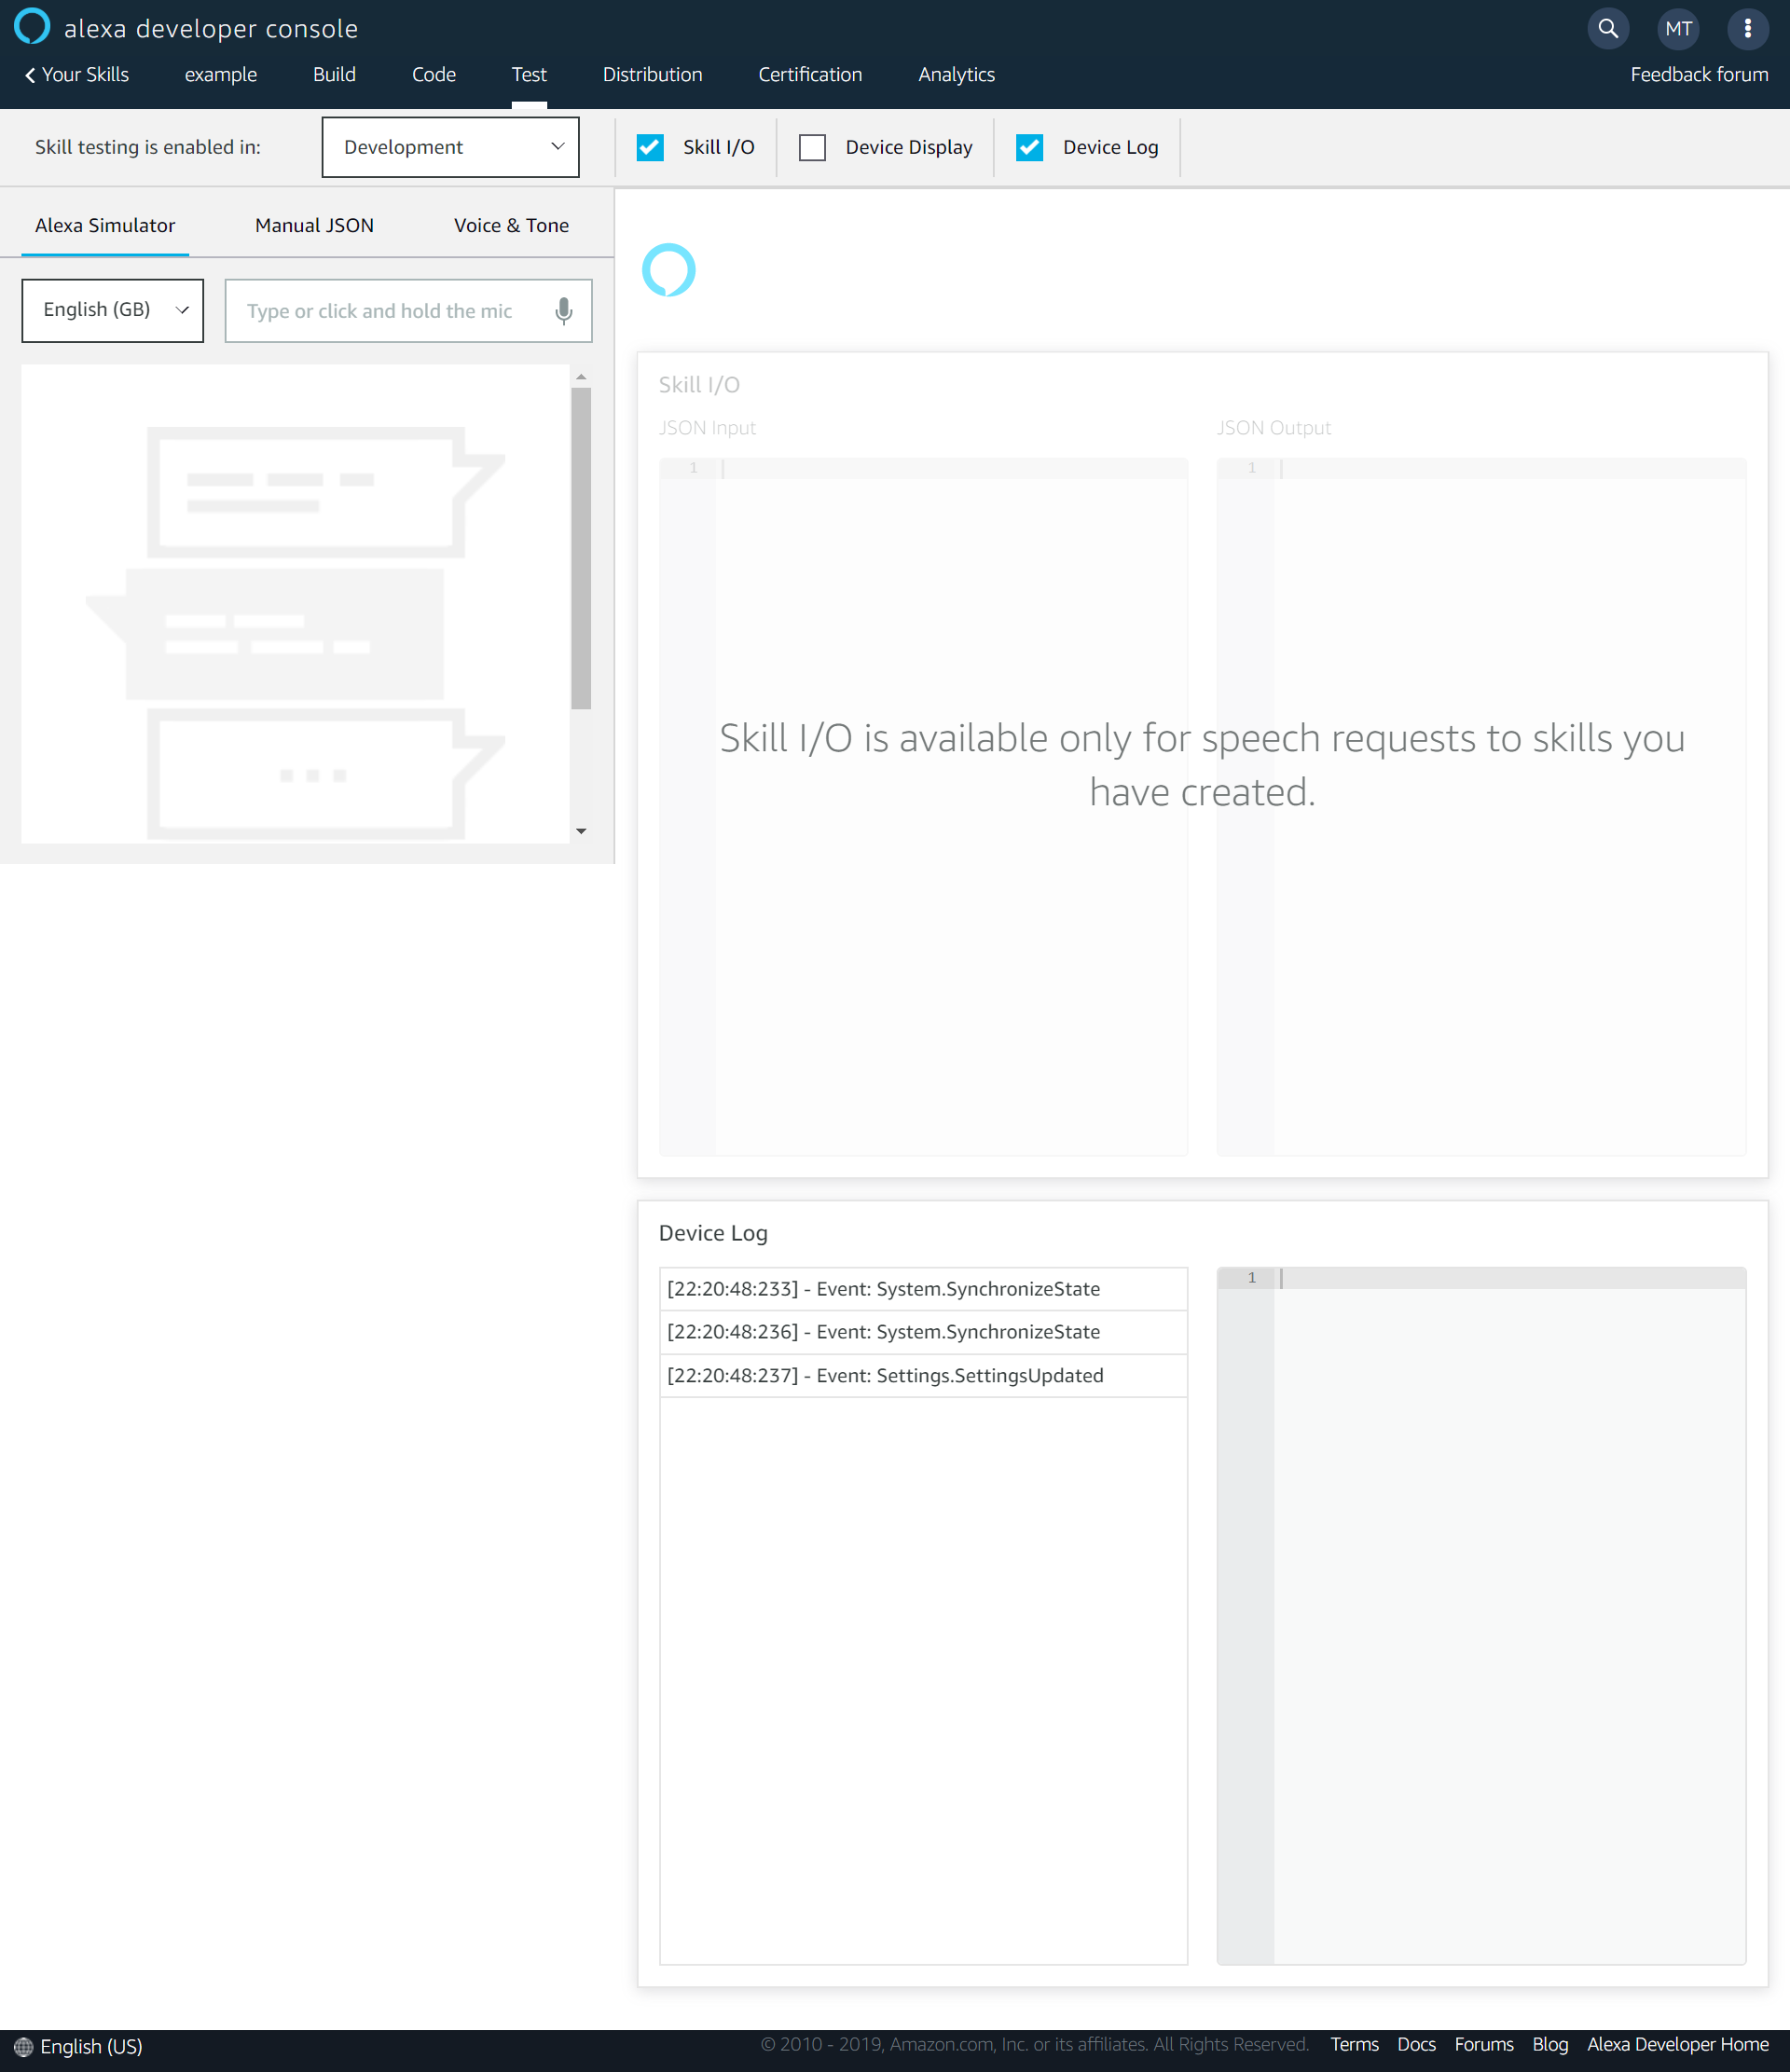
It really impressed me that you are able to test your app by typing your invocations and utterances rather than just having to speak them.
Make sure that you have built your interaction model on the “Build” tab and deployed your code on the “Code” tab within the console. Forgetting to do that is an easy way to get unexpected results while testing your skill.
For more info about the test configuration oprions, check the docs here.
Publish your skill
In order to get your skill live and available to users in the Alexa Skill Store, you’ll need to fill out the form on the “Distribution” tab in the console. Compared to some other app store processes, the level of detail needed for a skill felt pretty nice and lightweight.
After filling out all the details about your skill, go to the “Certification” tab and run the validation. This process will highlight any issues that you’ll need to resolve before you can publish your skill. Once any issues have been resolved, it’s time to submit your skill!
On the “Certification” tab, go down to Submission and submit your skill for review. I’m guessing they do have busy times, and my skill was super basic, but my skill was accepted in just a few hours.
And that’s it! I was super impressed by how simple Amazon have made it to get up and running and create your own Alexa Skills. The addition of the hosted skills is a huge bonus, for both someone just experimenting like me, or even for a business who wants to test an idea quickly. This guide was just the very basics to getting a skill in the store. So I’ll do some more posts on some features to make your skill even better, such as storing session data and making your skill more conversational.