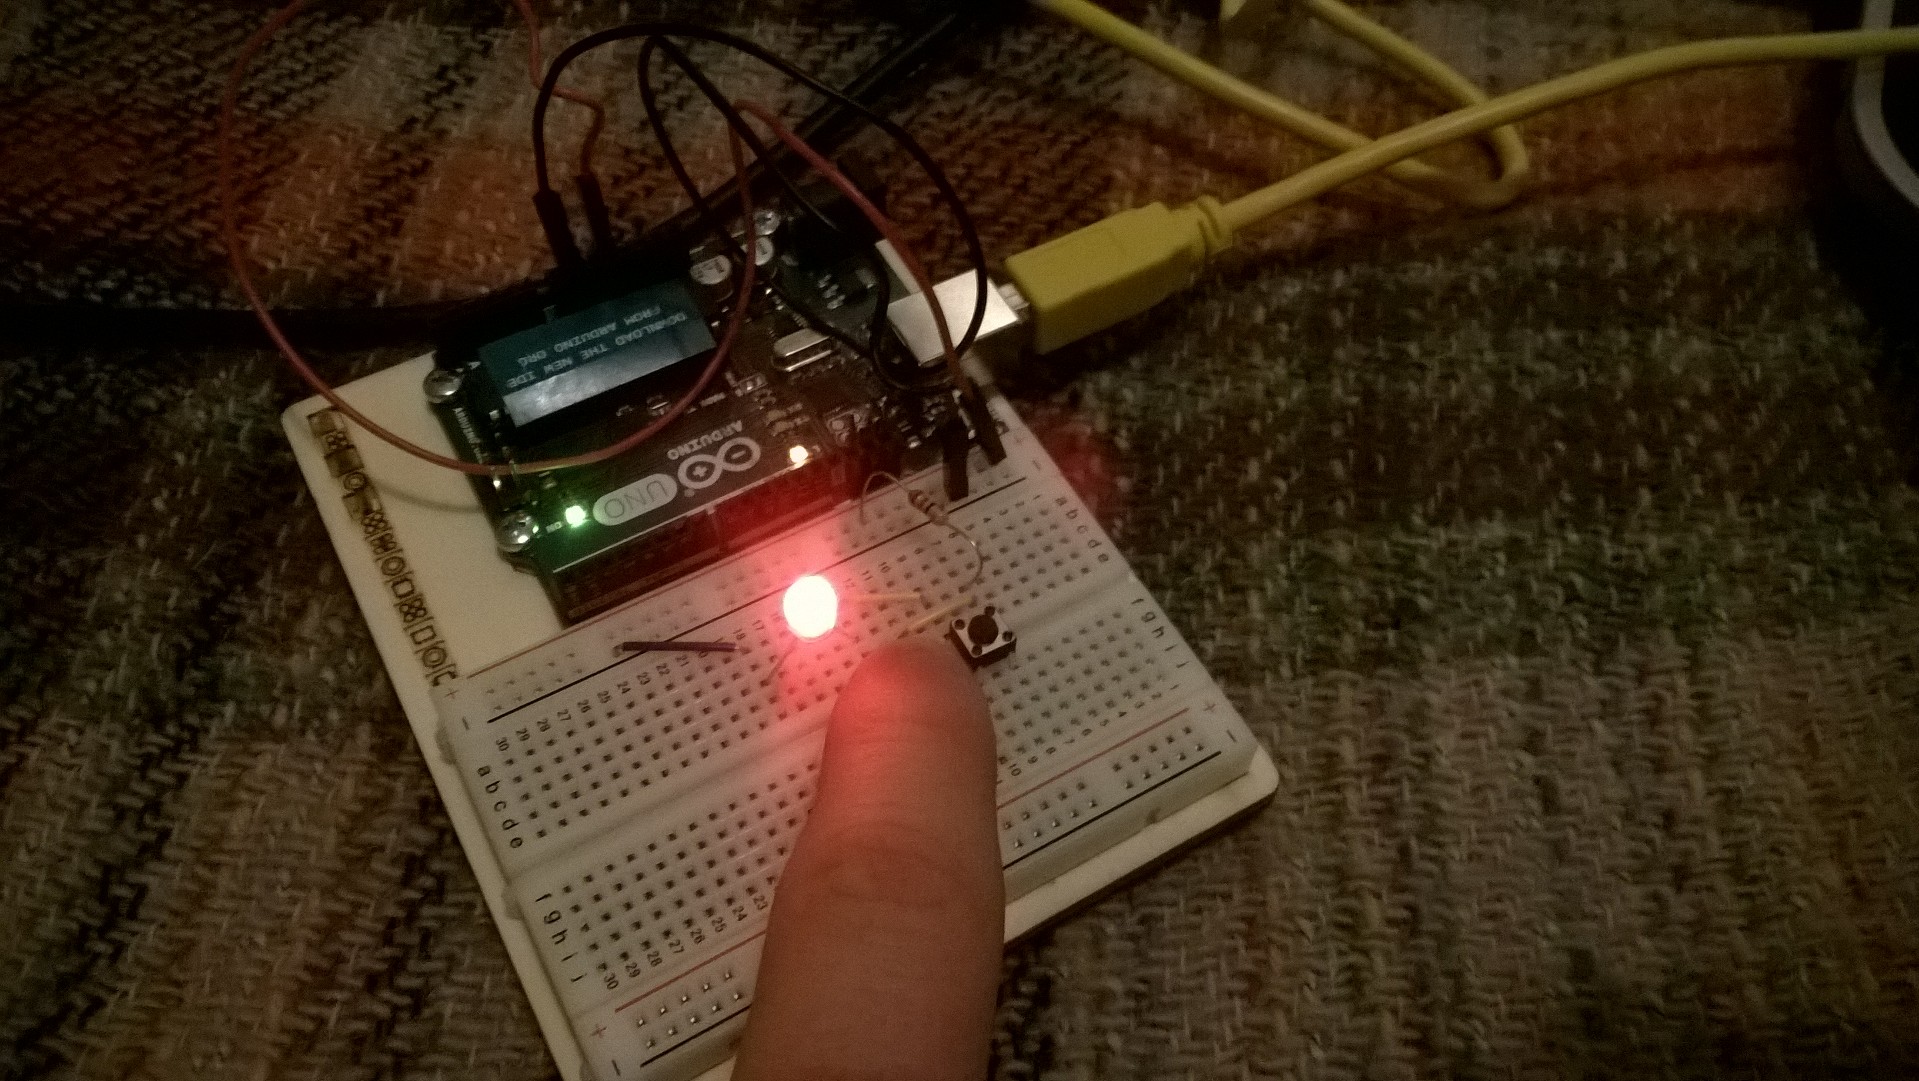
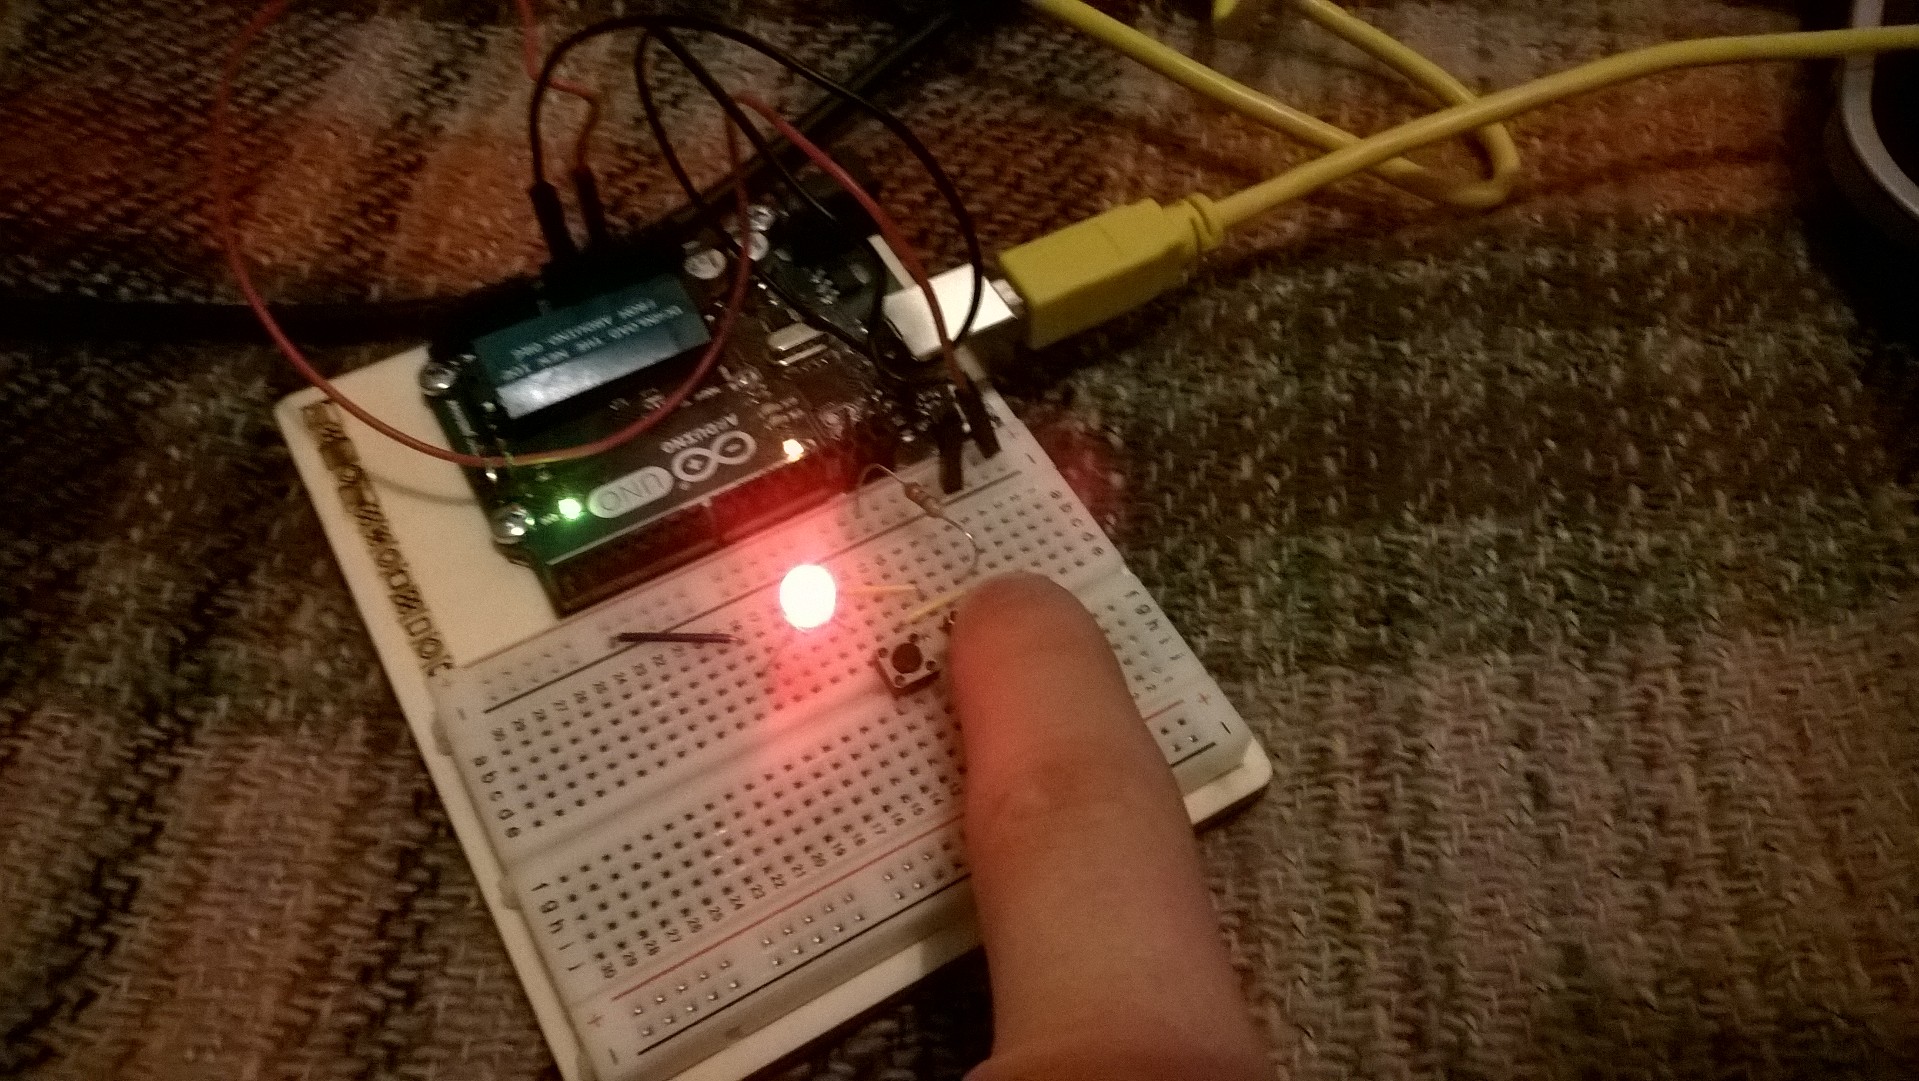
I just built my first circuit with my Arduino!
I’m working my way through the lessons of the official Arduino starter kit and the second lesson shows you how to create a circuit by using the breadboard.
One of the things that I really like about this kit and the projects book is that it doesn’t just tell you how to set the circuit up, but explains why and what is happening within the circuit.
For example, it explains the difference between current and voltage. Current is the amount of energy flowing past a point in the circuit and volts is the difference in energy between one point in the circuit and another. This didn’t mean an awful lot to me, however they give a very useful analogy of rocks rolling down a hill. The amount of rocks is like the current and the height of the hill is like voltage.
In this first circuit, the parts that are used are a resistor, LED and push button. It was interesting to only be using the Arduino as a power source rather than actually programming anything. While only being a basic circuit with one LED it felt awesome to make something physically happen.

After successfully getting the LED to light up when the butotn is pushed, the lesson moves on to setting up two switches in series. When the switches are connected in series both switches have to be pressed in order to complete the circuit and make the LED light up.

The next step was to connect the switches in parallel rather than series. This meant that if either button was pressed then the circuit was completed. This was really taking me back to my old electronics lessons at school.


The lesson ended explaining Ohm’s Law.
Volts = Current * Resistance
By using Ohm’s Law you can calculate the voltage, current or resistance in a circuit. This lesson used 5 volts and a 220 ohm resister. So 5 / 220 = 0.023 amps or 23 milliamps. Apart from enjoying making my first circuit, this lesson taught me that there is a LOT to learn about electronics.