curl referer
I had to use the referer option on a curl command recently in order to spoof the referer header. After initially thinking my code wouldn’t be testable until going live, I was pretty pleased to find this option was available.
My curl posts
The more I use curl the more useful I think it is. Each time I find a useful command or option I’m going to make a post about it so I can use it as a reference. If anyone else finds it useful as well, that’s awesome.
What is curl
According to the curl website, curl is “used in command lines or scripts to transfer data”. I use it most day to day to test websites I’m working on.
It’s incredibly useful for testing things like redirect status codes as you don’t get all the overly aggressive caching that you often get with browsers.
Referer option

This post is all about the referer option on the curl command. By using the referer option, you can set the referer header.
You can use -e or –referer.
curl -e https://www.google.co.uk/ http://mywebsite.com
For full curl options here is the documentation
Using the Referer option to debug a .net solution
Recently I had to implement a feature on a site where the logic depended on what the referring site was.
Initially I thought this work was going to be untestable until it went live I could get the real site in the referer header.
However by using the -e option on the curl command I was able to set the referring site and still be able to hit breakpoints in my Visual Studio solution.
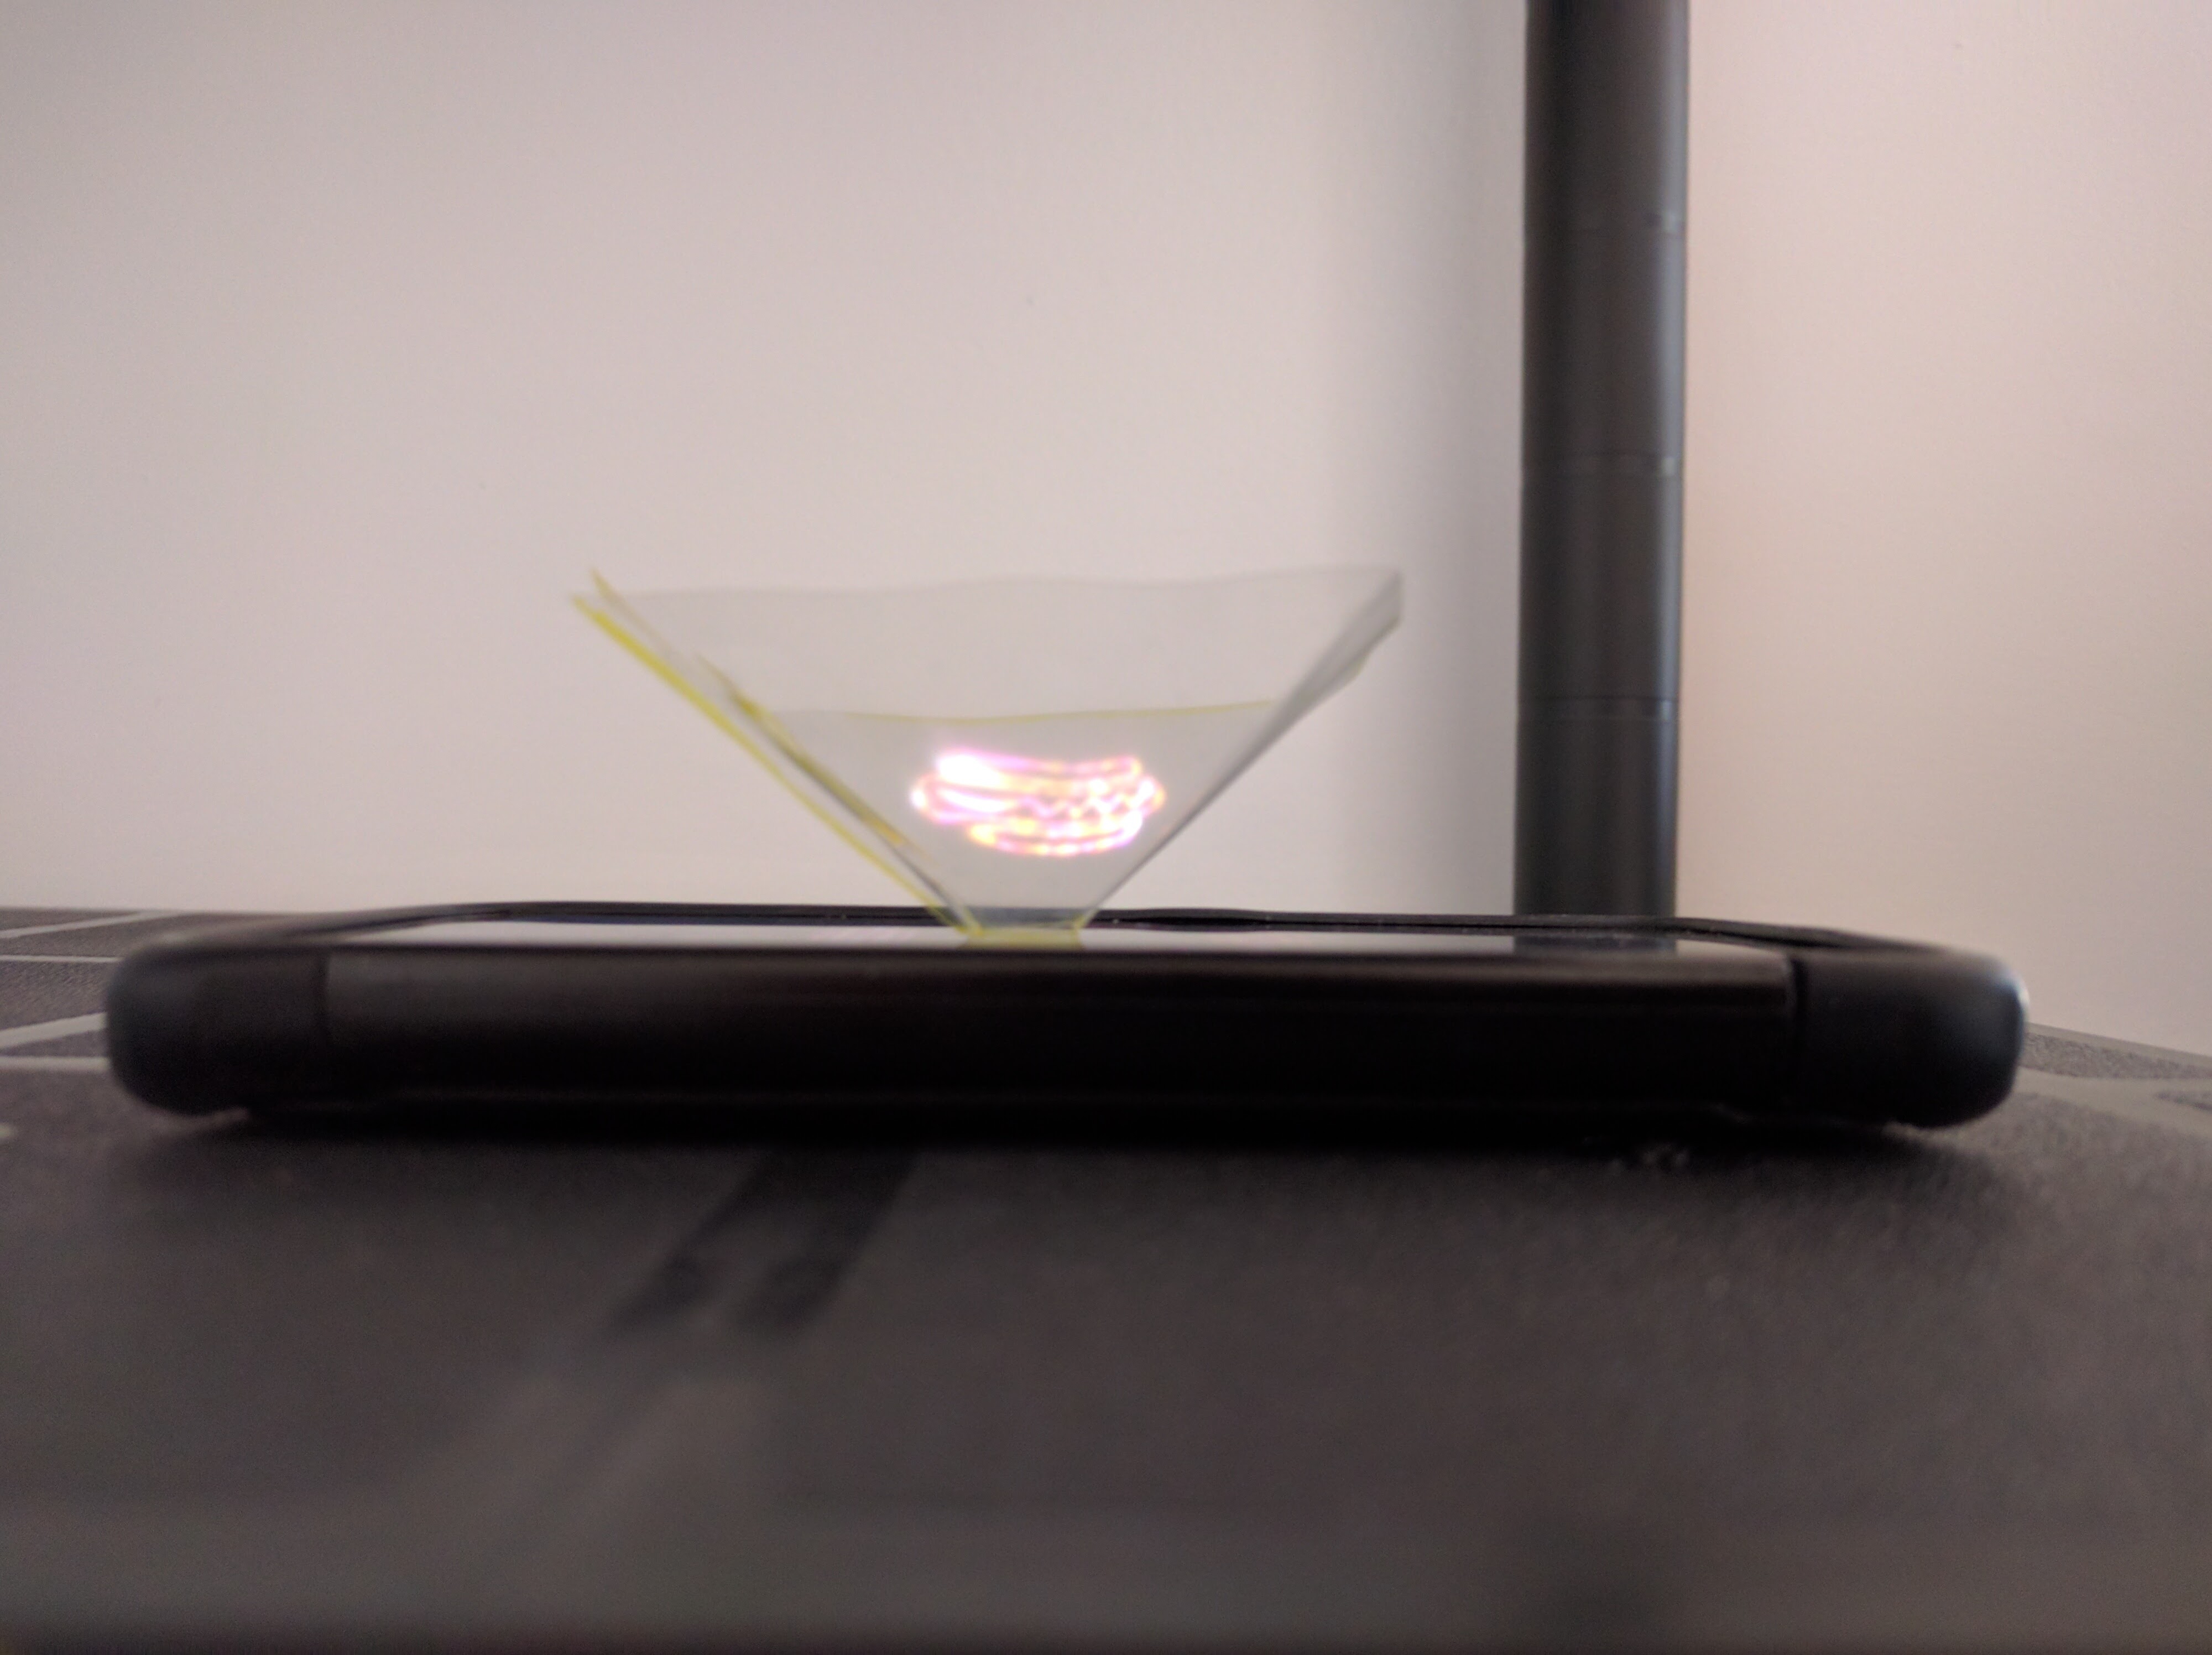
My DIY Hologram
Here’s my DIY hologram from Microsoft since I can’t afford a Hololens.
It’s a hologram coming out of your phone!
I felt like I was in Star Trek.
OK, bit of an exaggeration but I still thought it was pretty cool.
The instructions from Microsoft can be found here. I think this is a great example from Microsoft of how, with a little bit of creativity, you can turn a digital experience in to a physical one.
Time to get the scissors out
On the instructions is a template for the prism to print and cut out of clear plastic. I was able to find a laminator pocket which I put through the machine while empty. Not the clearest plastic in the world but seemed to work ok for this.
From my experience I would make the template a little bigger than the instructions state. I found this made the prism a little easier to stand up. Making the tab to stick the prism together bigger than the template suggests helps as well.

How it works
Once you have the prism, you place it on your phone as the gif plays. The gif gets reflected in to prism and you have your floating hologram!
If you are a better designer than I am you can make your own gif to use. However you can always use the example gifs that are supplied with the instructions.
I was amazed by my hologram but it did leave me wanting a Hololens. Time to get saving I guess.
Razor View Interfaces
By using interfaces rather than classes for Razor models you can decouple them and make them more flexible.
Atomic Design
After reading Brad Frost’s awesome blog post on atomic design I got to thinking how a similar approach could be taken with Razor views.
Here is a very brief introduction to some concepts from Atomic Design.
Atomic Design is based around creating design systems from reusable and composable parts. These are split in to five sections.
Atoms
Atoms are the smallest parts of the system. They can include the styles of a button or heading.
Molecules
When you start to gather several Atoms together you end up with a Molecule. An example would be a site search form. Consisting of an input atom, a label atom and a button atom. This molecule can then be used in different places on the site.
Organisms
Organisms are made by bringing together molecules to form parts of a UI. For example a navigation molecule and a site search molecule might make up a site’s header.
Templates
A template is the framework for a page and how it will look when the organisms are arranged.
Pages
Once the template is populated with final content the page is then complete.
I found this concept of breaking down designs brilliant and it really reminded me of the Don’t Repeat Yourself rule in development.
Razor views
I started thinking how the principles of Atomic Design could be applied to Razor views. After some experimenting I realised that you could use an interface as the model for a strongly typed view. This sounds like a small change but it was news to me and opened up several new possibilities.
Reusable Partials
By setting the model for a partial view to be an interface rather than a class they can be more reusable.
Partial view;
@model ViewInterfaces.Interfaces.ICanRenderTitleSection

<div>
    <h1>@Model.Title</h1>
    <h3>@Model.SubTitle</h3>
</div>
This partial then can be used by any model that implements that interface.
Calling view;
@model ViewInterfaces.Models.HomeViewModel

@{
    ViewBag.Title = "Home Page";
}

@Html.Partial("/Views/Partials/_TitleSection.cshtml", Model)
Since the main view model is implementing all of the small interfaces required for the small partials, the partials are easily composable. As with Atomic Design the partials can reflect the organisms, molecules and atoms.
Interface;
namespace ViewInterfaces.Interfaces
{
    public interface ICanRenderTitleSection
    {
        string Title { get; set; }
        string SubTitle { get; set; }
    }
}
Small Interfaces
It is better to have your main view model to implement many small interfaces rather than one large one to help your model will be more flexible.
By following the Interface Segregation principle from the SOLID principles you are giving clear instructions on what partials the model can be used for and showing clear intent.
I’ve also found that it can help when it comes to using the model in the partial. Any properties on the view model that aren’t needed for that partial won’t be accessible due to using the interface.
Example
You can check out my MVC example on GitHub
Visual Studio Code File Icons
It’s the little things in life that make me happy and the new file icons available for Visual Studio Code make me very happy.
The new icons
For the August Visual Studio Code release there is now the option to show file and folder icons.
This may sound like just a small visual tweak but I’ve found it to be really useful in finding files I need faster.
How to enable
Enabling the icons is easy and the update comes with two icon sets.
To enable just go to File > Preferences > File Icon Theme and select one.
More icons!
If you feel the need for more icons, there are already more icon sets available in the marketplace
Cucumber Style Tests Debate
Recently I had the opportunity to take part in a debate around Cucumber style tests. Luckily I was arguing for Cucumber tests as I’m actually quite a big fan of them.
What is Cucumber?
A Cucumber test follows the Given, When, Then style. For example;
Given there is a name field
When I enter a number
Then an error message is displayed
Cucumber tests are a very useful way of running automated tests, especially user based acceptance tests. However they are much more than that.
Check out cucumber.io to get a much more detailed explanation.
My points for Cucumber
Single source of truth
They provide a single source of truth of the software being created. Creating a single set of requirements/tests that can follow the software through the entire development life cycle.
Living documentation
Living documentation is another benefit that comes from using Cucumber tests. If the requirements change, you will then have to change the software. Since you will have breaking tests you are forced to keep them (and you documentation) up to date.
Avoiding regression
Since these tests can be automated and be part of a build pipeline, rework can be avoided when new features are added.
Collaboration
This I think is probably one of the main benefits of this style of test. Getting the correct Given, When, and Then isn’t easy. However, whenever I have seen Cucumber used, it has always been a great conversation starter. It provides a common language for technical and non-technical to come together and focus on the behavior of the software.
Some well made points against Cucumber
So this was a debate and did have some good arguments againt the use of Cucumber tests.
It’s another tool we need to learn
Yes, it is another tool that people would need to learn. However if you can get it part of your workflow, the benefits should outweigh that effort. Although I do agree that you don’t need Cucumber to get the benefits. If you can get the benefits using your current tooling then why would you add another layer of complexity. But I have found that Cucumber is a great way to start realising those benefits.
They are brittle
Yes, Cucumber can tests can become extremely brittle. Especially if they are tightly coupled to a UI. However I feel that can be said about a lot of code. Tests should be treated like the code that it is. The same care will need to be taken when writing the tests as any code would need, such as following the 4 simple rules of code and refactoring techniques.
The debate
Here are my great slides from the debate;
And here is the debate itself;
And the following discussions;
TL;DR
Cucumber tests can be very useful and are more than just automated tests. However, as with many tools, they are not a silver bullet. They need to be thought about carefully and weigh up are the advantages greater than the cost.