Prefix
I’ve been playing with a new tool from Stackify recently called Prefix and so far I’m really impressed. Prefix is a free .Net profiler that shows all the web requests, sql queries and service calls etc that run through your local IIS.
Being able to see how many service calls and how long SQL queries are taking per request can be extremely useful to helping solve performance issues.
Setup
Setup is very easy, especially if you are using local IIS. A quick install and then Prefix will configure itself to start profiling IIS. If you are using IIS Express then you need to setup the Stackify HTTP module manually. Instructions can be found here.
Its been pretty useful to keep the Prefix UI open all the time on my second screen. Not as something I refer to constantly but its there when I need it if something takes a while to run. As of yet I’ve not noticed it having any negative effect on my laptop’s performance.
Logging
If you want to view related logging for a call in Prefix, you will to get relevant Nlog/Log4Net Stackify nuget packages. It can be really useful to see only the relevant logging messages to a specific call rather than searching through a whole log file. If you leave the Stackify API key blank then the profiler will only run locally.
Supported Frameworks
Currently Prefix supports more than 30 .Net libraries. I was pleased to see that they are supporting a range of really useful libraries such as MVC, Nancy, SQL Server, Mongo and Redis just to name a few. Furthermore, most aync calls are also supported.
With site performance being so crucial, its really helpful find backend issues before they even leave the development machine. The fact that it’s free doesn’t hurt either. To get Prefx you can download it from prefix.io.
Update
I’ve updated this blog post just to show a nice little tip that you can do when using Prefix. You can just leave the API key blank in your web.config and the profiler won’t run on the server. However, if you don’t want unused libraries deployed to the server you can exclude them from your nuget package in your nuspec file.
For example;
<files>
    <file src="bin\**" target="bin\" exclude="StackifyLib.NLog.dll;StackifyLib.log4net.dll" />
</files>
My first Arduino circuit
I just built my first circuit with my Arduino!
I’m working my way through the lessons of the official Arduino starter kit and the second lesson shows you how to create a circuit by using the breadboard.
One of the things that I really like about this kit and the projects book is that it doesn’t just tell you how to set the circuit up, but explains why and what is happening within the circuit.
For example, it explains the difference between current and voltage. Current is the amount of energy flowing past a point in the circuit and volts is the difference in energy between one point in the circuit and another. This didn’t mean an awful lot to me, however they give a very useful analogy of rocks rolling down a hill. The amount of rocks is like the current and the height of the hill is like voltage.
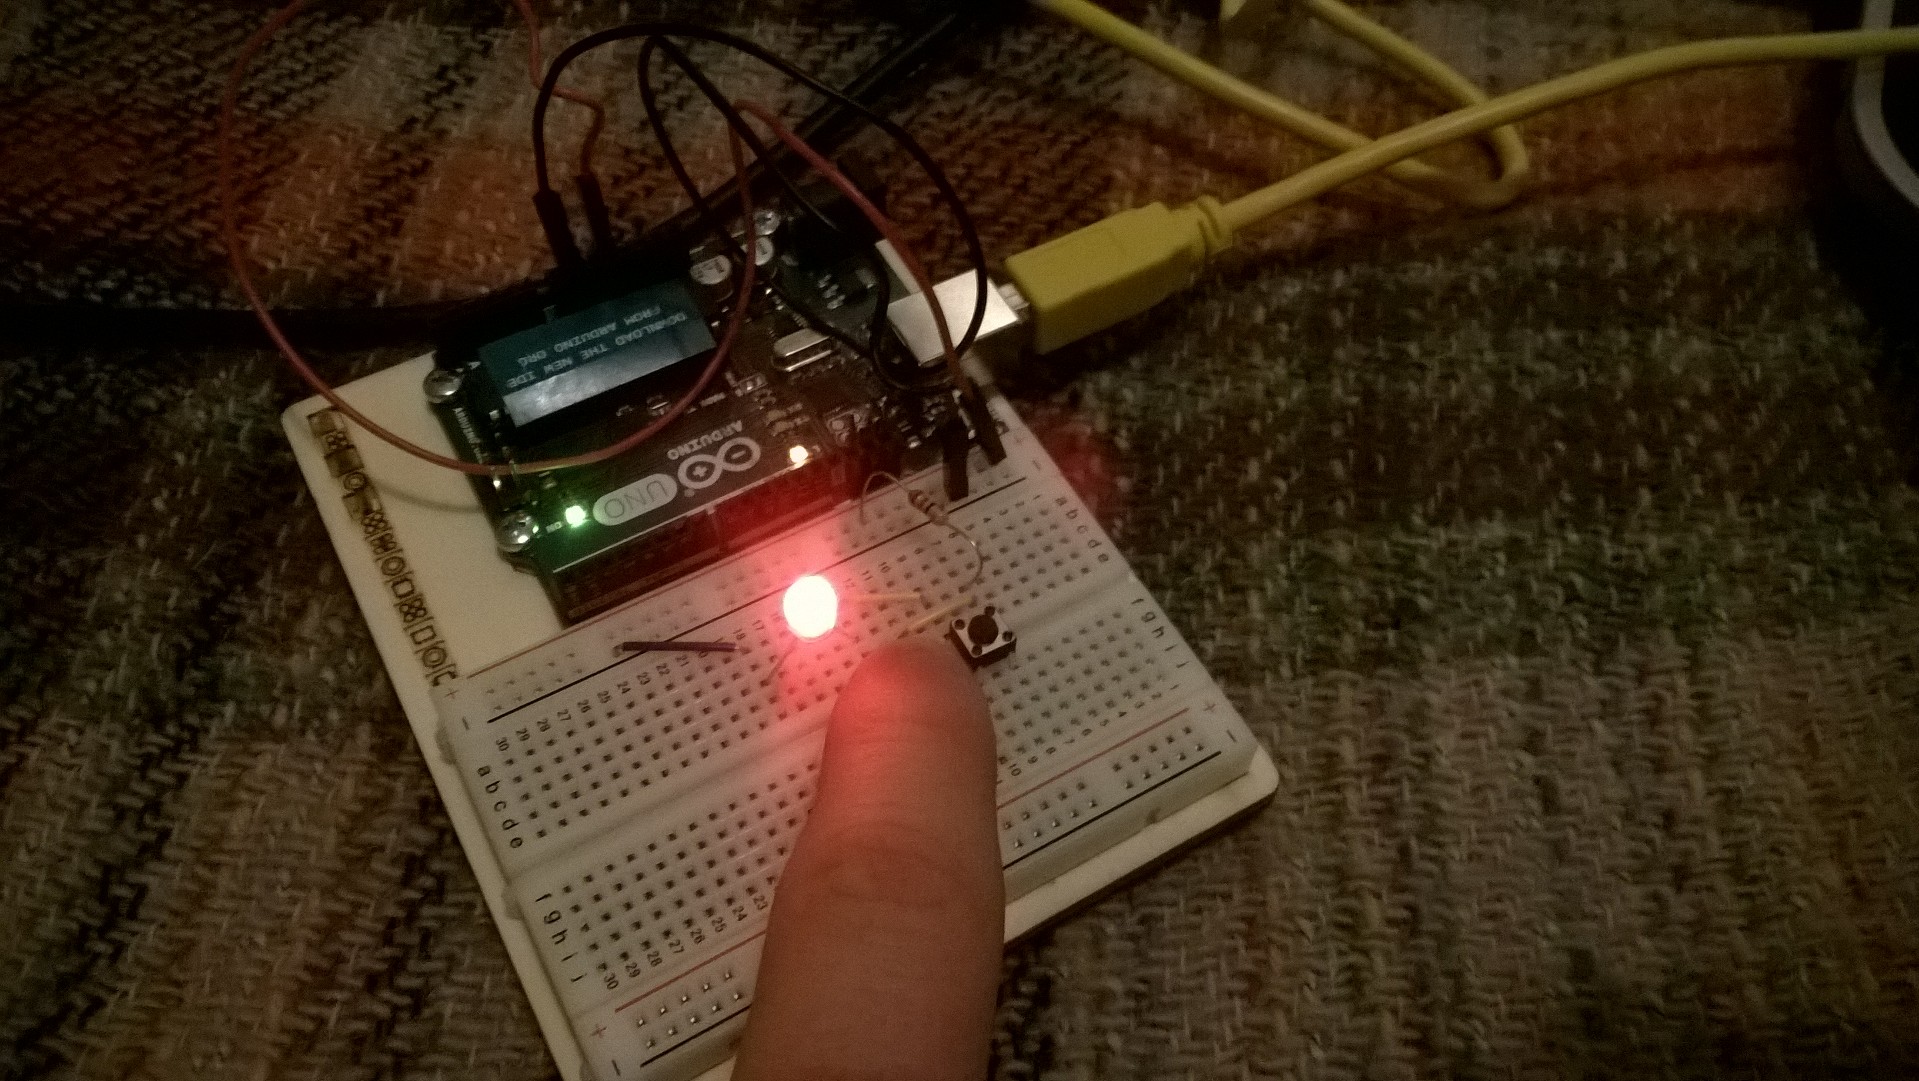
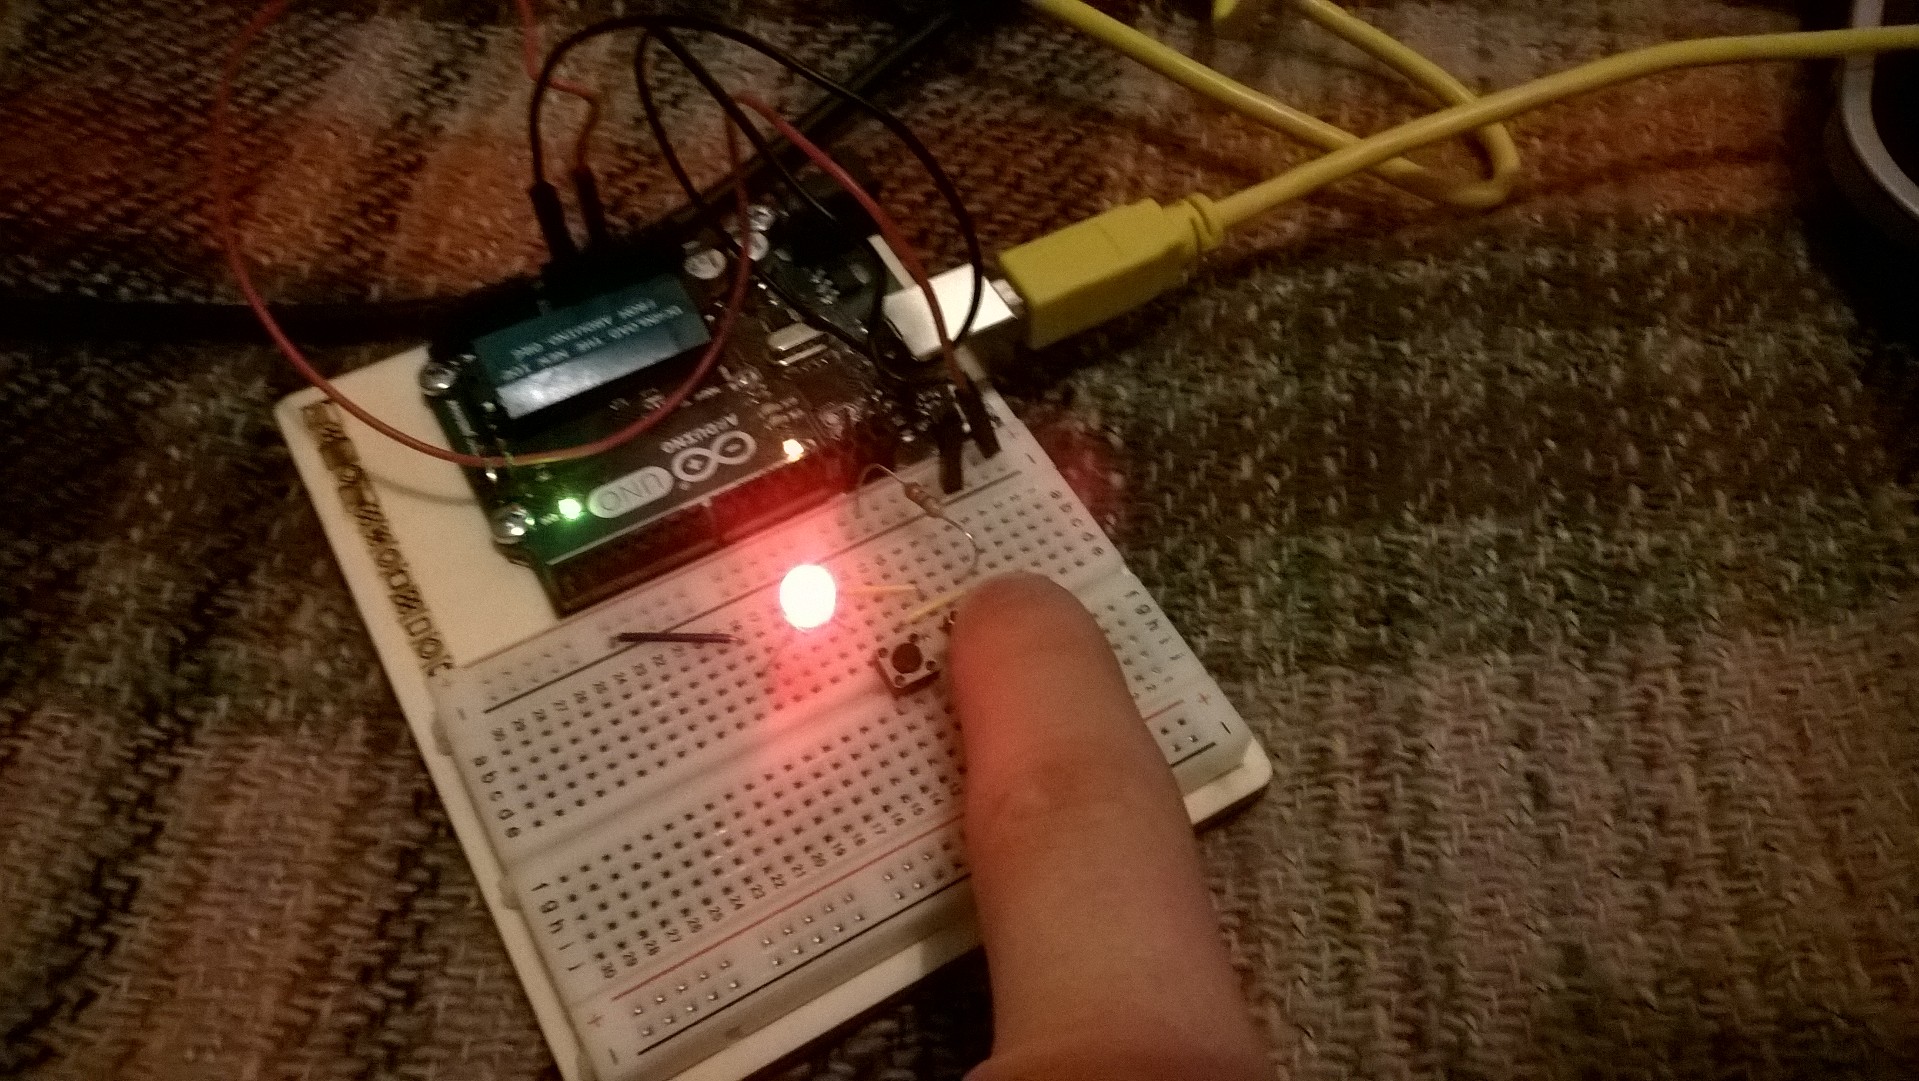
In this first circuit, the parts that are used are a resistor, LED and push button. It was interesting to only be using the Arduino as a power source rather than actually programming anything. While only being a basic circuit with one LED it felt awesome to make something physically happen.

After successfully getting the LED to light up when the butotn is pushed, the lesson moves on to setting up two switches in series. When the switches are connected in series both switches have to be pressed in order to complete the circuit and make the LED light up.

The next step was to connect the switches in parallel rather than series. This meant that if either button was pressed then the circuit was completed. This was really taking me back to my old electronics lessons at school.
The lesson ended explaining Ohm’s Law.
Volts = Current * Resistance
By using Ohm’s Law you can calculate the voltage, current or resistance in a circuit. This lesson used 5 volts and a 220 ohm resister. So 5 / 220 = 0.023 amps or 23 milliamps. Apart from enjoying making my first circuit, this lesson taught me that there is a LOT to learn about electronics.
My elephant carpaccio workshop
Recently I was fortunate to be able to run a learning session with my team. I decided to run my session based on the Elephant Carpaccio workshop to see if we could all think more about how user stories can be effectively split up.
The original workshop
If you haven’t come across the Elephant Carpaccio workshop before it’s based on Alistair Cockburn’s awesome article of the same name. It’s a great explanation of the benefits for slicing user stories into the smallest possible size and deliver them incrementally. I’m a big proponent of small user stories, however reading Cockburn’s article again it reminded me that once the elephant has been sliced as finely as possible, it is important that once the slices are all delivered they still need to resemeble the elephant.
It’s important to note that while stories should be sliced as small as possible, the story should be sliced vertically. This means that a story should go through all layers of the infrastructure and still deliver value. As such if there are a lot of layers of infrastructure required to deliver a story, then it needs to reduce in size horizontally. For example when building a new form, the new page will be needed, any logic for processing the form data and storing the data will all be needed. So the first story might be very thin horizontally and only be for a single field on the form. A lot of value is still gained from such a story as a lot of knowledge will be gained. The following story may be the rest of the fields on the form as vertically a lot of the work has already been done.
In the original workshop you spend some time deciding on how best to slice the user stories to deliver a checkout that can calculate total price, discounts and tax based on the location. If you ever get the chance to take part in the work shop I definitely recommend having a go.


My version of the workshop
For my session I only had around 30 minutes, so unfortunately I couldn’t do the full workshop. I wanted to do something that was open to non-developers as well as developers and show the importance of thinner user stories.
I put together a list of different features for a hypothetical website and asked the group how they thought they could best be broken down. I split the group into pairs and they had 3 minutes to decide what work they thought they could release in a day. At the end of each 3 minutes, I marked off which features, or which parts of features they felt they could have released.
Before the start of the session I assigned each feature a value increase to over all sales for the hypothetical website, and this sales increase was split over the parts of the feature. The first part of each feature was given greater value. I wanted to show that stories don’t necessarily need to be grouped and completed by feature, but you should target the most valuable stories first.
After several rounds, I added up the overall impact each pair would have made on sales.
My workshop Rules
Aim of the game
To increase sales for the website as possible
Scenario
I’m a widget seller who sells 2 types of widgets. Type A and Type B. I want to improve my website to sell them more effectively. Below are the baseline expected sales figures
- Widget A - 50 a day
- Widget B - 100 a day
The checkout is already in place and took 3 days to complete. Please use this a reference point for the size of implementing new features.
Below are the features that I want my site to have and impact I expect them to have on sales of widgets. The sales impacts are once a feature is fully implemented, benefits can be gained from partially implemented features.
- Product information page - 30%
- Text
- Image
- Reviews
- Related products
- Product gallery - 10%
- carousel
- quick view box
- Banner carousel - 10%
- Overlay text
- Image cropper so I can put various images in
- FAQ - 20%
- Customers can ask questions
- Customers can answer questions
- Store Finder - 5%
How the sesson went
Overall, I would say that the session turned out to be a success. Everyone seemed to enjoy it and it raised some good discussion and thought over how its best to tackle the most valuable stories first, not just fully complete a feature.
The group were very helpful and gave me some really constructive feedback for the next time I get to run the session. Firstly it was to lower the 3 minute timer for each round, it was too long and it gave people time to chat about other things. Also, I had a spreadsheet to calculate the impact on sales each team was having, however the more astute members of the group were keeping on eye on which features were getting the other teams a lot of value and going for that themselves. As such, next time after each round I would just show them the overall results, not how they were calculated.
One thing I did learn to take in to future workshops is that you can really motivate a group of people by turning a session in to a competition with cookies as the prize.
Arduino - Initial Setup
I’ve finally got around to setting up my Arduino Uno, a few minor teething problems and I’m away!
I love seeing some of the projects other people have done by using an Arduino. I can’t wait to get that good and be creative with it. For example, check out this secret knock detecting door lock
The first step was to get the Arduino IDE. As I’m working on Ubuntu and still a Linux newbie this in itself presented me with some challenges. My first attempt was was by using the Ubuntu package manager. However I realised that the packaged version of the IDE was quite old. At the time of writing this post, the apt-get package was 1.0.5, but the version available for download was 1.6.7. So I decided to manually install the IDE.
As the Arduino tar came with an install script I didn’t have to run configure and make. So after moving the extracted folder to the /opt folder, I was able to give the install script executable permission and run it. I found this set of instructions very useful.
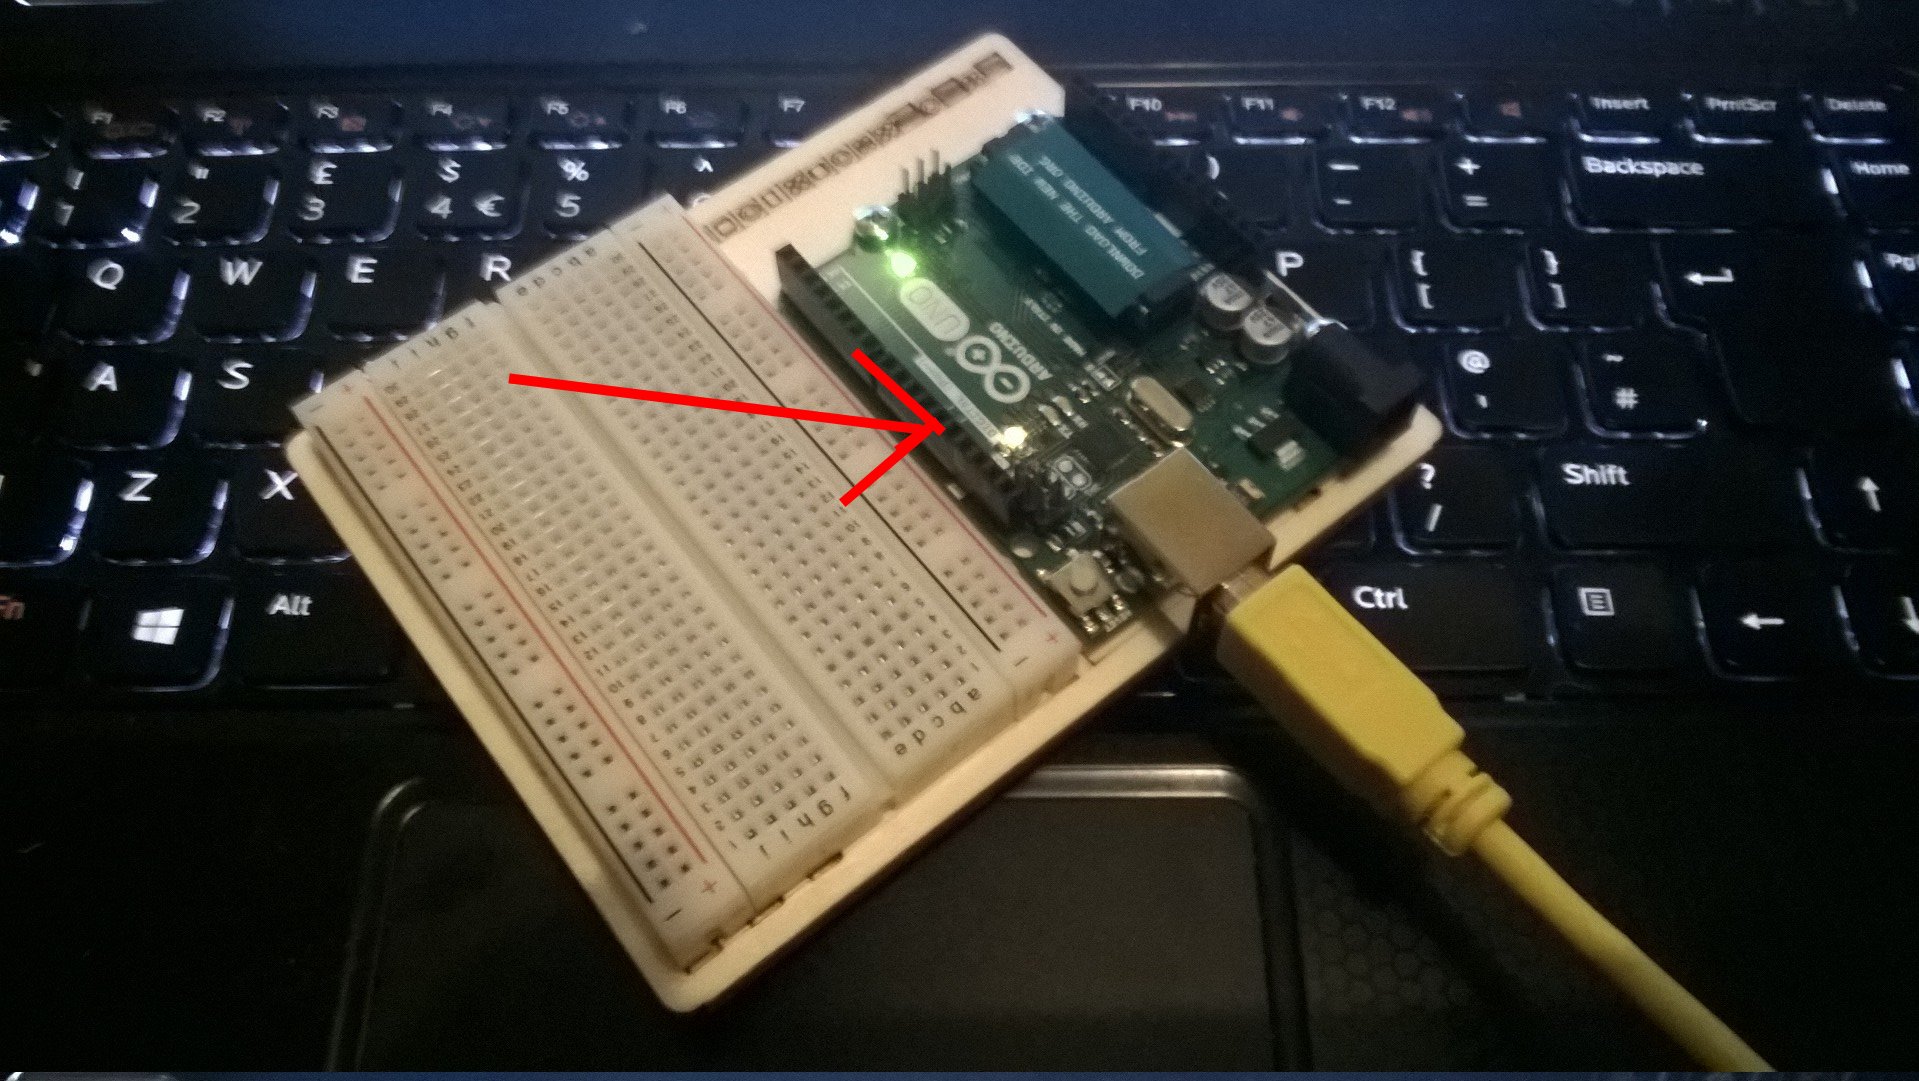
Pretty impressively, the Arduino IDE comes pre-loaded with a quite a few examples. The setup example I was working through pointed me towards the Blink example.

Initially I was getting an error when trying to upload onto the board;
ser_open(): can’t open device “/dev/ttyACM0”: Permission denied ioctl(“TIOCMGET”): Inappropriate ioctl for device
I found another very helpful article here. By following the instructions on the article I was able to add my user to the dialout group and change the filer permissions on /dev/ttyACM0. After this was done the blink example uploaded just fine. While this isn’t the most exciting thing in the world you can do with an Arduino. It was awesome to know that I had successfully uploaded my first program to my board.
Interestingly, once I had uploaded blink, I then wondered “how do I stop it?”. It turns out that there isn’t such a thing as stopping the Arduino. So unless a stop was part of the program (where it wasn’t in blink) it would just keep going until the power supply is stopped.
Now to move on to more interesting lessons!
JS - scope chains and closures
As I’m trying to improve my Javscript knowledge I’ve started working my way through Nodeschool’s Workshoppers. If you haven’t come across the Workshoppers before, they are brilliant. They are self contained Javascript (among other things) lessons that come in the form of a Node module. If you are anything like me, actually doing, really helps to make the lessons sink in rather than just reading.
For example, run the below commands and you are up and running;
npm install -g scope-chains-closures
scope-chains-closures
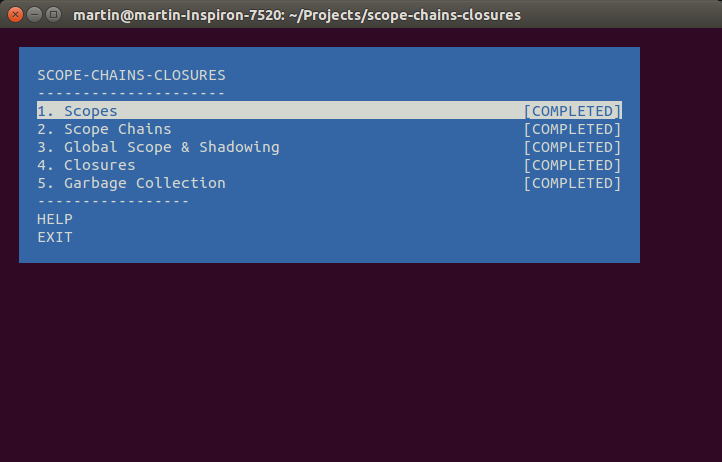
Lesson 1 - Scopes
So a pretty straight forward one here, setting a variable within the scope of a function. However, one of the things I liked about this module is that they also give information as well as set the challenge for the lesson.
So it was nice to learn that scoping with a function is actually called lexical scoping. Also, that ES6 has block scoping but you use “let” rather than “var”.
Solution
function foo(){
    var bar = 1;
}
Lesson 2 - Scope Chains
Here we are looking at how scopes can be nested and that a variable from an inner scope will have access to an outer scope but not vice versa.
Solution
function foo(){
    var bar = 1;
    function zip(){
        var quux;
    }
}
Lesson 3 - Global Scope
It was interesting to see how forgetting to declare a variable with “var” would create that variable globally. With my background in C#, this seemed pretty strange to me and will be something to be careful of.
Solution
function foo(){
    var bar = 1;
    function zip(){
        var quux = 1;z
    }
    quux = 2;
}
Lesson 4 - Closures
Closures are a term that I have heard of before in Javascript but never really known what they are, so it was nice to find what they actually were.
When an inner function references a variable from up the scope chain, its closes over it and is a closure. The closure and the variable are maintained even if the inner function isn’t called immediately, and the function can be passed around.
Solution
function foo(){
    var bar = 1;
    quux = 2;

    function zip(){
        var quux = 1;
        bar = true;
    }

    return zip;
}
Lesson 5 - Garbage Collection
Obviously Chrome dev tools is something I use all the time, but this lesson showed me tools in there that I haven’t used before. Recording the memory profile on the timeline tab to see where garbage collection took place was very interesting. Its always useful to have another technique to help analyse site performance.
If you want to get my solutions to ths Node School module, you can get them from my repository here.